Today is the last day of DIY week. I hope you have enjoyed the posts and found maybe one or two DIYs that you'd like to give a go. It has been so fun for me to do this and a bit challenging as well. It takes a lot of time and energy to make this stuff, write about it, keep the house clean, love and care for my family and keep laundry laundry piles at a minimum. Whew... bring on the weekend.
On Tuesday I asked for your votes for today's DIY and I heard from
two of you. Really? No one else cared what the final DIY would be? Well, Nicole and Rachel you spoke and I listened. Today's DIY is on storage bins. Here's the best part, I found an amazing tutorial for this project that I couldn't do any better (no matter how hard I tried) on
U-createcrafts; so I am going to share
The Mother Huddle's
storage bins with you. She hung hers on a simple white curtain rod, which is totally creative and unique. Hang low and it's easily accessible for your littles one.
Now you might be thinking... "I don't want to
hang my baskets because my kiddos will rip that rod right off the wall and I'll be left with two big holes and
floor baskets." You might also be thinking, what the heck are you doing, driving us to another site instead of keeping us here at Pure and Noble. (FYI...this blog isn't really about me, it's about you in a strange way. I like giving to you, getting to know you and learning while I do what I enjoy.) Now that I've gone off on a bit of a tangent, let me get back to the solution part of this DIY for all you non-hanging storage lovers. Just leave off the fabric insert that the pole/rod goes through. Then, add your own "handles" similar to the Dwell studio boxes I showed
Tuesday. Here are a few options for handles:
Fabric straps sewn onto body of storage bin.
Recycled belts - grab an old belt from your closet or the thrift store, cut off both ends so your are left with the strap sans holes and buckle. Cut in desired length of handles and sew on to storage bin.
(TIP: use a heavier weight needle when sewing leather. I use a heavy denim needle and go super slow.)
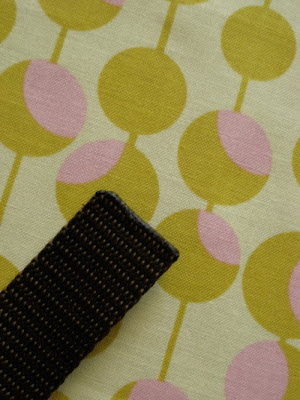
Webbing - This stuff is great and can be found at your local sewing or craft store. Cut to desired length and "finish" the edges by flame. Go over the edges lightly with a match of lighter and it will melt the ends perfectly. Once ends are "fray-proof" simply pin straps into place on bin and stitch with machine.
If you end up making any of the DIYs from this week, I'd love to hear about it and see pictures! Thanks for spending the week with me! Enjoy your weekend and stop back by on Monday! I have an amazing home for you to see that you do NOT want to miss. xo


bravo.
ReplyDelete